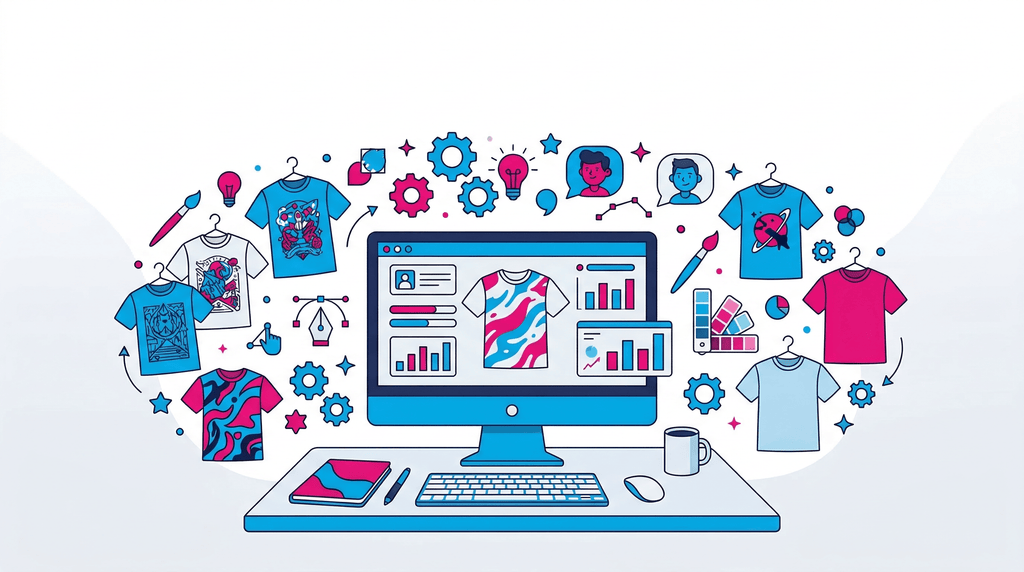
AI has made it easier than ever to go from a rough idea to a print-ready t-shirt design, even if you've never opened Photoshop in your life. But there's a real gap between generating a cool image and actually having something you can put on a shirt. This guide walks you through the whole process, from picking a tool to getting your design printed, so you don't have to figure it out the hard way.
Choosing the Right AI T-Shirt Design Tool
The first decision is which tool to use for your AI t-shirt design, and honestly it depends on what you're trying to make. There are a lot of options out there, and they all behave differently. Here's a breakdown of the main ones worth your time:
Ordering shirts for a team, school, or event?
Skip the sizing guesswork. Send us your group and we'll spec the right blanks and sizes, then quote it. 4.9 stars across 340+ reviews.
Get a Free QuoteNano Banana is the tool we use at The Loyal Brand for our own AI testing. It ranked #2 in a real-world DTF printing test run by Transfer Superstars, where they used the same prompt across 10 AI platforms, made every design print-ready, and pressed them on actual shirts. Nano Banana produced the most detailed designs with the cleanest knockout backgrounds of any tool in the test, which matters a lot for printing. If you want results built for garments rather than social media, this is a strong starting point.
C-Dream 4 ranked #1 in that same test. It's the best overall option for t-shirt-specific output right now. Strong composition, great print results. Worth using if you want maximum quality.
Midjourney produces the most artistic, visually interesting results of any AI tool. The trade-off is that designs often need cleanup before they're print-ready, backgrounds, extra detail, soft edges. The output quality ceiling is high, but the prep work is higher too. Worth it if you want something truly unique.
ChatGPT (with DALL-E) is the easiest entry point if you already use ChatGPT for anything else. You prompt it in plain English, iterate in conversation, and get clean illustration-style output. It's not always the most visually striking, but it's approachable and consistent.
Kittl is a design platform with built-in AI, and it stands out because you get AI generation plus text tools, vector editing, smartboards, and mockup tools all in one place. Very popular with print-on-demand sellers. If you want to see your design on a shirt before you order anything, Kittl handles that without needing a separate mockup tool.
Ideogram is the tool to reach for when your design has text in it. Most AI tools mangle letters in ways that are genuinely unusable for printing. Ideogram actually renders type correctly, which is rare and useful.
If you're not sure where to start, try Nano Banana or ChatGPT. Both have free tiers, both are approachable without a learning curve, and both will get you somewhere useful on a first session.
Step 1: Define Your Design Concept Before You Touch Any Tool
This sounds obvious but most people skip it, and it's why their first AI session ends in frustration. Before you open anything, spend five minutes getting specific about what you actually want.
- What's the style? (vintage, minimalist, bold graphic, retro, watercolor, line art, illustrated)
- What's the subject? (animal, landscape, mascot, abstract, slogan, geometric pattern)
- What's the mood? (funny, fierce, nostalgic, clean, gritty, lighthearted)
- What colors work for the shirt color you're printing on? Dark shirt needs a lighter design; light shirt can handle anything.
- Is this a single-color print, limited palette, or full color?
Writing this down before you prompt takes two minutes and saves you from generating 40 variations of the wrong thing.
Step 2: Write a Custom T-Shirt AI Prompt That Gets Results
This is where most people get stuck. Vague prompts produce vague results. Here's the prompt structure that works consistently:
[Style] + [Subject] + [Mood/Vibe] + [Technical specs for printing]
The technical specs part is critical and easy to forget. You almost always want to include: transparent background or isolated on white background, no text, no border, print-ready. Those words save you enormous cleanup time.
Example Prompts You Can Copy and Modify
Retro mascot design:
"Vintage 1970s style t-shirt design, bold illustrated bear holding a surfboard, warm sunset color palette, distressed texture overlay, isolated on white background, no text, no border"
Minimalist line art:
"Clean minimalist line art of a mountain range at sunrise, single color black, transparent background, suitable for screen printing on a light shirt"
Pop art bold graphic:
"Pop art style t-shirt graphic, fierce bald eagle with lightning bolt, bold outlines, limited palette of red and black only, white background, print-ready, no gradients"
Typography-forward design (use Ideogram for this one):
"T-shirt design with the text 'Salt Life' in a weathered vintage serif font, surrounded by wave and anchor motifs, navy and white color palette, transparent background, no other text"
Cute character illustration:
"Kawaii-style cartoon sloth hanging from a bamboo branch, soft pastel colors, clean black outlines, white background, no text, t-shirt graphic ready for printing"
Abstract geometric:
"Bold geometric t-shirt design, sacred geometry pattern with a wolf silhouette in the center, black and gold, transparent background, symmetrical, print-ready"
Use negative prompts actively. Adding "no text, no watermark, no border, no realistic photography" steers the AI away from things you don't want. In Midjourney, the syntax is --no text, background clutter, watermark.
Step 3: Generate, Iterate, Pick Your Winner
Run your prompt, look at what comes back, and expect to go through at least a few rounds. First outputs are rarely print-ready, and that's not a failure, it's just how the process works.
Here's how to troubleshoot common issues:
- Composition is off or design feels unbalanced: Add framing cues like "centered design," "square format," "balanced composition with negative space"
- Colors aren't right: Name them specifically. "Navy blue and burnt orange, no other colors" beats "ocean colors" every time.
- Too much fine detail for printing: Add "bold and graphic, minimal fine lines, suitable for vinyl cutting or screen printing"
- Background isn't clean: Get explicit. "Pure white background, hard edges, no soft shadows, no vignette"
- Design is too complex for a shirt: Ask for a "simplified version with fewer elements, bolder shapes"
Don't get attached to your first variation. Generate several, pick the strongest one, and refine from there. Most tools let you use a result as a starting point and generate variations from it. That's where the real iteration happens.
Step 4: Prepare Your File for Printing
Getting from a generated AI image to a print-ready file is the step most tutorials skip, and it's the one that actually determines whether your design prints well. Here's what needs to happen:
Background removal: Even if you specified "transparent background" in your prompt, you'll almost always need to clean up the edges. Adobe Express has a free background remover, remove.bg is fast and accurate, and Photoshop's "Remove Background" button works well for simple subjects. After removal, zoom in to 200% and look for stray pixels or soft halos around the edges.
Resolution: You need at least 300 DPI at the actual print size. AI tools typically output images at 72 DPI for screen viewing. If your image is 1024x1024 pixels and you want to print 10 inches wide, that's about 100 DPI, which is too soft. Use an AI upscaler like Topaz Gigapixel, or the upscale options built into Midjourney and Kittl, to increase resolution without losing quality.
File format: PNG with a transparent background is the most universally accepted format for DTF and DTG printing. If you need a vector for vinyl cutting or screen printing, Recraft AI specializes in vectorizing AI-generated images cleanly.
Color mode: Print shops work in CMYK. AI images come out in RGB. Colors can shift, especially in purples and oranges. Your printer can usually handle conversion, but communicate about it upfront if color accuracy matters.
Print dimensions: A standard full front design runs about 12x14 inches. Left chest prints are typically 3-4 inches wide. Ask your printer what size they recommend for the blank you've chosen before you finalize the file.
Step 5: Order a Sample First
If you're printing more than a handful of shirts, get one sample before committing to the full run. What looks clean on screen can behave differently on fabric, and what looks sharp at 100% zoom can soften when you're printing at 12 inches wide.
This is something we learned from our own AI testing at The Loyal Brand. We ran Nano Banana and other tools through actual DTF printing, not just screen evaluation, and the results were meaningfully different from tool to tool. Designs that looked nearly identical on screen printed very differently on a shirt. That's why real-world testing matters, and why the tool you choose for your custom t-shirt AI design actually affects the final product.
Step 6: Get It Printed
Once your file is ready, you have a few paths:
Local print shop: Fastest for small runs, you can ask questions, get a proof before production, and not worry about shipping timelines. This is how we work at The Loyal Brand. You send us the file, we confirm it looks right, and we print it.
Print-on-demand services: Printify and Printful integrate with Etsy and Shopify storefronts. Zero upfront cost, no inventory to manage. Good if you're selling online or testing a design before committing.
Bulk online printing: Plenty of options for larger quantities where the per-unit cost drops significantly. Just be sure to get a proof before anything goes to print.
For any shop you use, send a clean PNG at 300 DPI minimum with a transparent background, and specify the exact print dimensions you need. If they offer a digital proof, always review it before production.
We carry everything from Bella+Canvas, Comfort Colors, and Next Level Apparel to Gildan, Hanes, and Champion. The blank matters. A well-constructed shirt makes the same print look notably better than a cheap one.
What Makes an AI T-Shirt Design Print Well
A few characteristics separate designs that print well from ones that don't, regardless of which tool generated them:
- Defined edges with solid fill hold better than soft gradients in most printing methods
- Limited color palettes reduce printing complexity, and cost, especially for screen printing
- High contrast reads clearly on fabric at any distance
- No line work thinner than 1pt at actual print size, it disappears or bleeds
- Transparent or pure white backgrounds let you use the design on any shirt color
- No photorealistic detail around edges, it creates haloing in DTF and smearing in screen print
DTF printing is more forgiving than screen printing for complex designs and gradients. Screen printing handles large runs well but works best with clean, bold artwork. Know which method your shop is using and optimize accordingly.
You've Got the Skill, Now Get It Printed
The full process, from concept to print-ready file, is genuinely achievable in an afternoon. You don't need to know Illustrator. You don't need a design degree. You just need to know what you want and how to ask for it.
We've done extensive AI t-shirt design testing ourselves and covered more of it in our AI T-Shirt Design in 2026 post, along with what styles are actually selling right now in our 2026 Custom T-Shirt Trends breakdown.
When you're ready to print, send your design to The Loyal Brand. We've printed for over 16,000 customers, hold a 4.9-star rating with 340 Google reviews, and we've been printing long enough to know exactly what makes a file work, and what doesn't. Browse our catalog to see blank options, or reach out at john@theloyalbrand.com.